Let the glue joint cure overnight then give all the faces of the hammer head a good sanding. Don’t worry about minor dings in the wood, it’s not a piece of heirloom furniture after all.

The portion of the axe handle that’s inserted into the head has a finish on it that must be removed to insure a good glue joint. Use the rasp and 80 grit sandpaper to remove this finish leaving a clean surface. Don’t worry if it’s not smooth.
In fact there’s a step I forgot to photograph.
In order to form a better mechanical bond I used the small drill bit to make 15-20 dimples on each face of the axe handle that gets inserted into the head – just drill into the handle about 1/16 of an inch. The epoxy used to attach the handle to the head flows into the dimples making a mechanical connection.
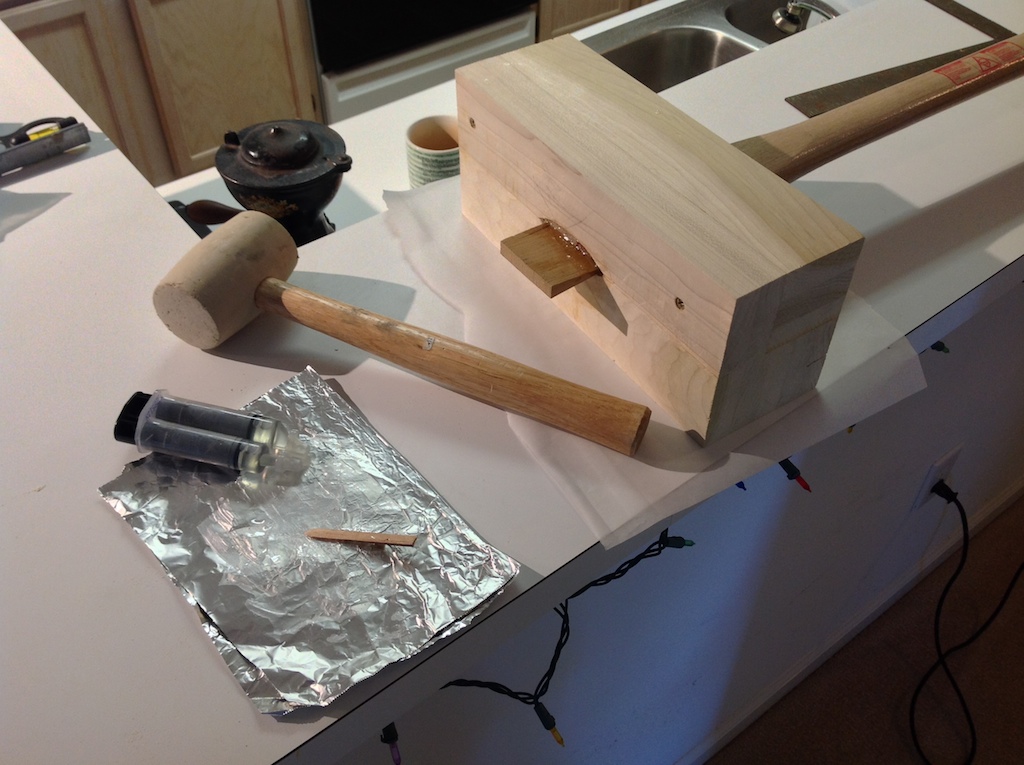
Mix a bunch of 5 minute epoxy. Don’t skimp here. Liberally apply the epoxy to the axe handle and insert it into the head. Check to be sure the handle is square to the hammer head then coat the first quarter of the wedge with epoxy and tap it into the slot in the axe handle. Now you have three things holding the handle in place. The flared wood of the handle against the head, the wood-to-wood glue joint, and the mechanical joint of the glue in the dimples. That should provide more than enough strength.
The final step: Finishing touches
